Removing Travel Trailer Luan Siding

Replacing Paneling Camper Repair Rv Repair Camper Makeover

How To Repair Travel Trailer Best Travel Camper Repair Camping Trailer Remodeled Campers

Rebuild Travel Trailer Travel Trailer Remodeled Campers Travel Trailer Living

33 Clever Farmhouse Rv Camper Space Saving Ideas Decoarchi Com Remodeled Campers Camper Trailer Remodel Rv Interior

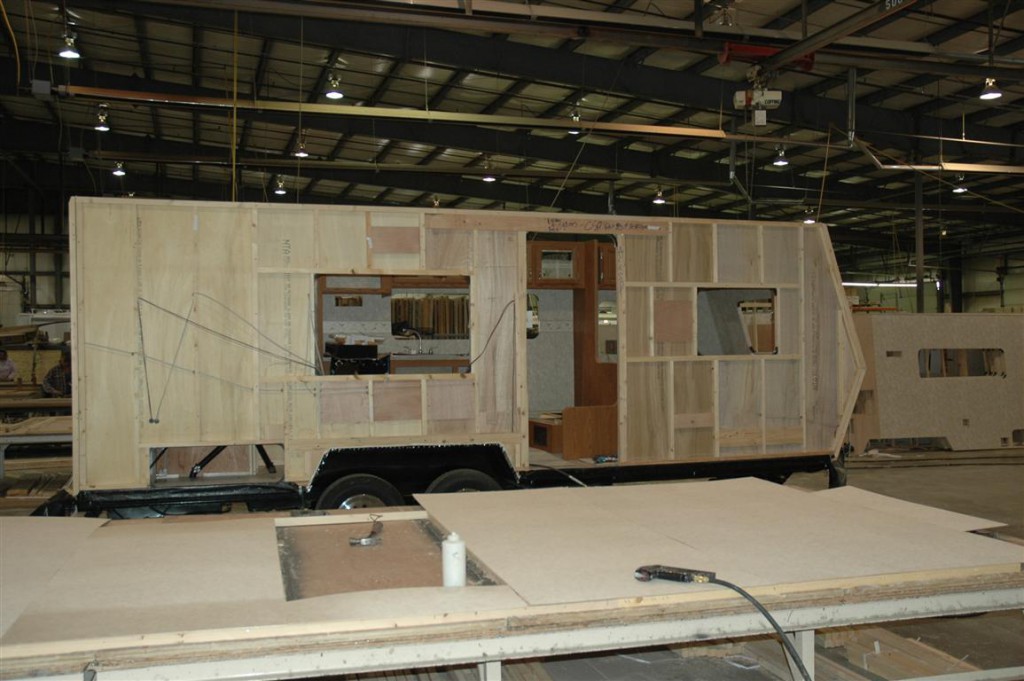
Rv Renovations Pictures Side Wall And Structural Custom Rv Remodeling Repair Truline Rv Rv Remodel Rv Repair Camper Repair

35 Stunning And Simple Rvs Camper Storage Remodel Ideas Camper Trailer Remodel Rv Living Glamper Camper
Step 1 remove lights begin by removing any lights that are installed that may be in the way of the siding.
Removing travel trailer luan siding.

The Rusty Glider Vintage Travel Trailers Vintage Trailers Vintage Camping

How To Faux Shiplap Rv Walls Remodeled Campers Camper Trailer Remodel Camper Makeover
The Ultimate Guide To Rv Construction Rvingplanet

Travel Trailer Water Damage Continued Vintage Trailer Remodel Camper Makeover Trailer Remodel
Source : pinterest.com
