Removing A Smart Board From Its Wall Mount

A Hitachi Ultrashort Throw Projector Mounted To The Wall Above An Interactive Smart Board Projector Setup Projector Mount Setup

Ipad Mini 4 Wall Mount By Fiendie Ipad Wall Mount Ipad Mini Ipad Mount

How To Build A Corner Wall Television Mount Homesteady Wall Mounted Tv Diy Tv Wall Mount Tv Wall

How To Wall Mount Your Hw M450 Flat Soundbar Samsung Us Youtube
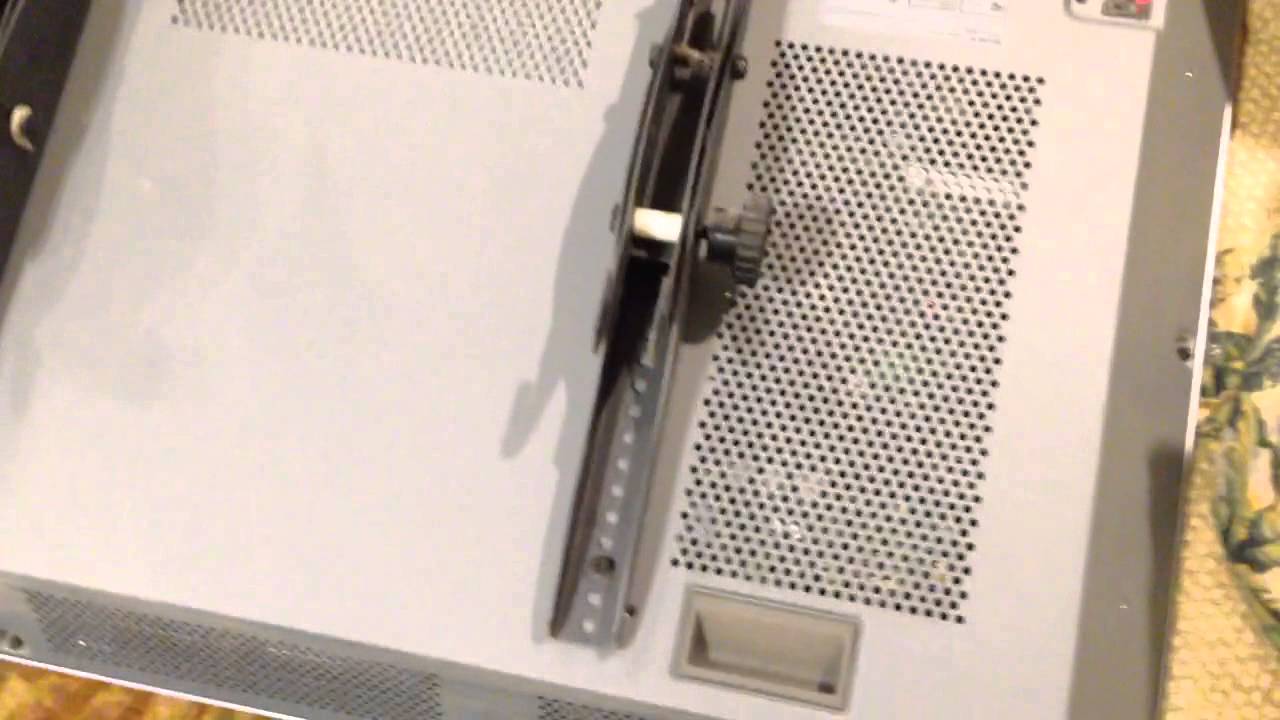
Wall Mounted Tv Removal Tutorial Youtube

Installing A Wall Mount Flat Screen Tv Hiding Cords Prettyhandygirl Wall Mounted Tv Home Tv Wall Design
Your wall mount might have a safety lock mechanism.
Removing a smart board from its wall mount.

Large Full Motion Articulating Armswiveltilt Wall Mount For 19 80 Flat Panel Screens In Black In 2020 Wall Mounted Tv Swivel Tv Wall Mount Mounted Tv

How To Mount A Tv With Out An Expensive Wall Mount Diy Tv Wall Mount Wall Mounted Tv Tv Wall

Meet Our New Removable Fixed Glass Ipad Tablet Mount Converts Any Tablet Into A Fixed Touch Display W Glass Friendl How To Remove Tablet Mount Ipad Tablet

Overstock Com Online Shopping Bedding Furniture Electronics Jewelry Clothing More Wall Mounted Tv Console Tv Wall Shelves Living Room Tv
Source : pinterest.com
