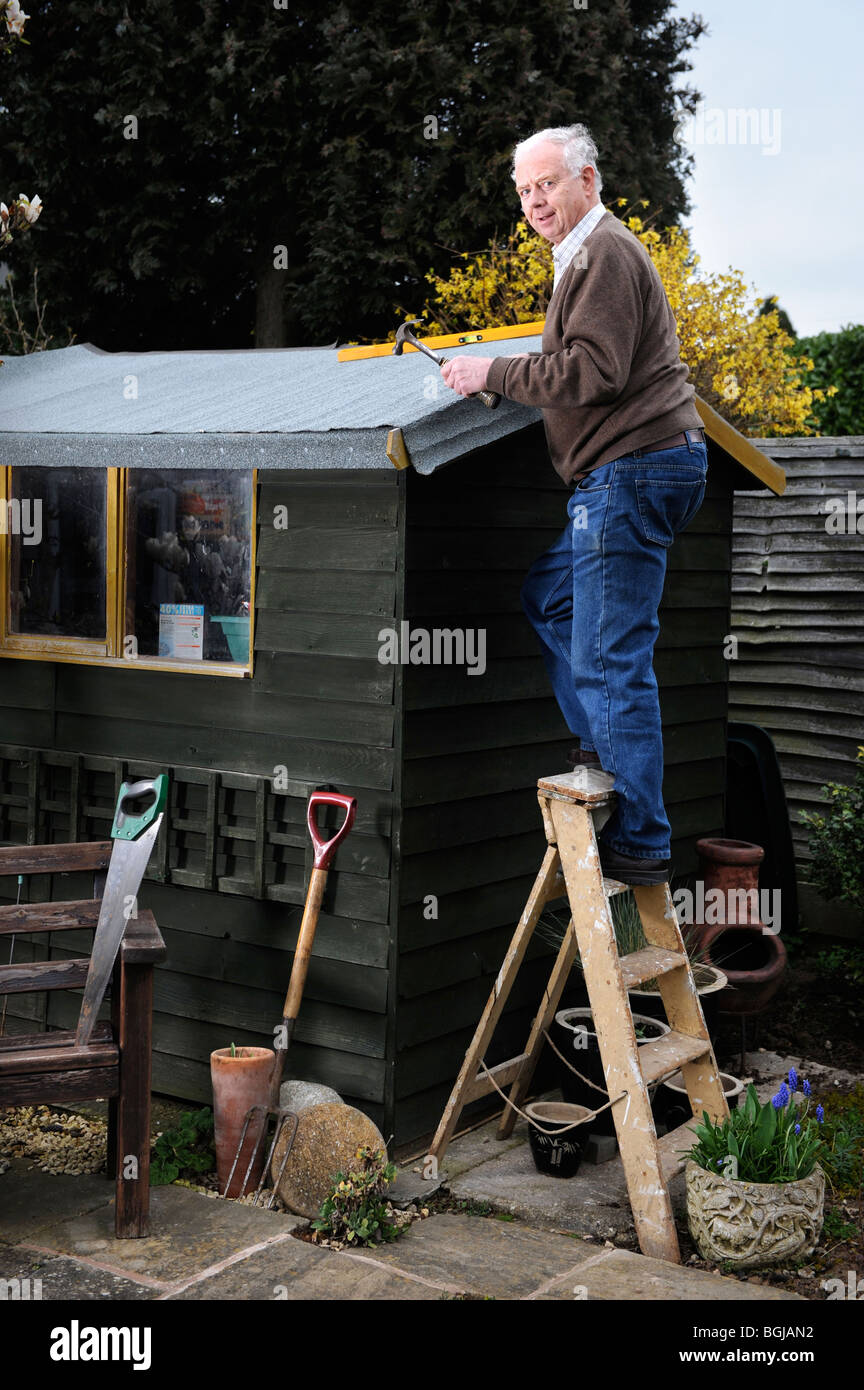
Begin at the bottom right or bottom left of the roof.
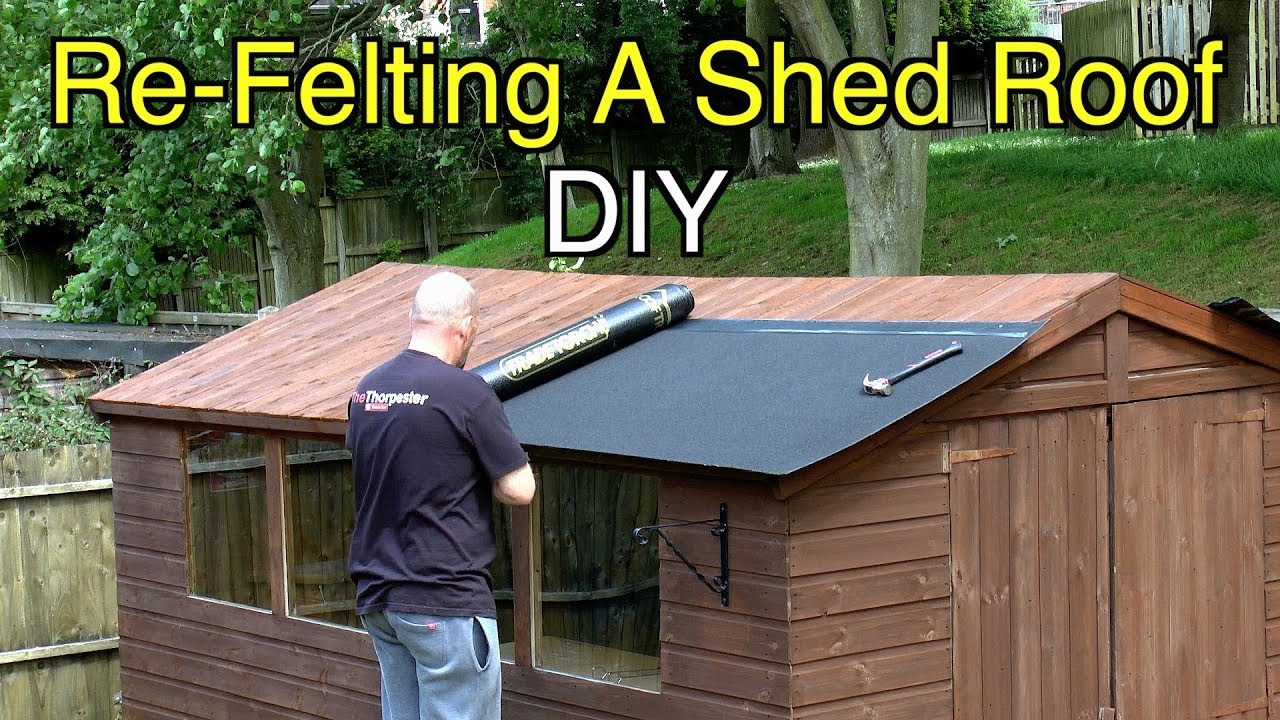
Refelting a flat roof shed.
Before adding the second layer though spread a thin layer of adhesive on the first layer using your trowel.
Since you will have overlap.
The process of felting a shed roof step 1.
Clean and prepare the.
Afterward roll the felt away from you lengthwise along the lower edge about 10 feet 120 in.
The real beauty of installing a professional quality roofing felt to a shed roof is the utter lack of specialist tools required unlike other high performance roof coverings.
The key to weatherproofing your flat roof is adding a total of 3 layers.
The first step in felting a shed roof either angled or flat is calculating the exact.
Apply the cut felt to either side of the roof pulling it tight so that it lies flat before nailing it at around 10cm intervals along the length of the roof just below the apex.
Tools and materials budget grade shed roofing felt felting clout nails ladder hammer screwdriver stanley knife an occasional extra pair of hands.
As you roll it out make sure that it remains flat.
Apply another layer of adhesive to the top for maximum waterproofing.
You can cover the surface of the felt with gravel for added strength.
Thus you will repeat the earlier steps.
This will help the two layers adhere to each other.
Cover the edges of the roof with strips of felt before laying out the final layer.
Buy the roof felt.
You can hammer in the nails along the bottom edge of the roof at wider intervals around one every 30cm.
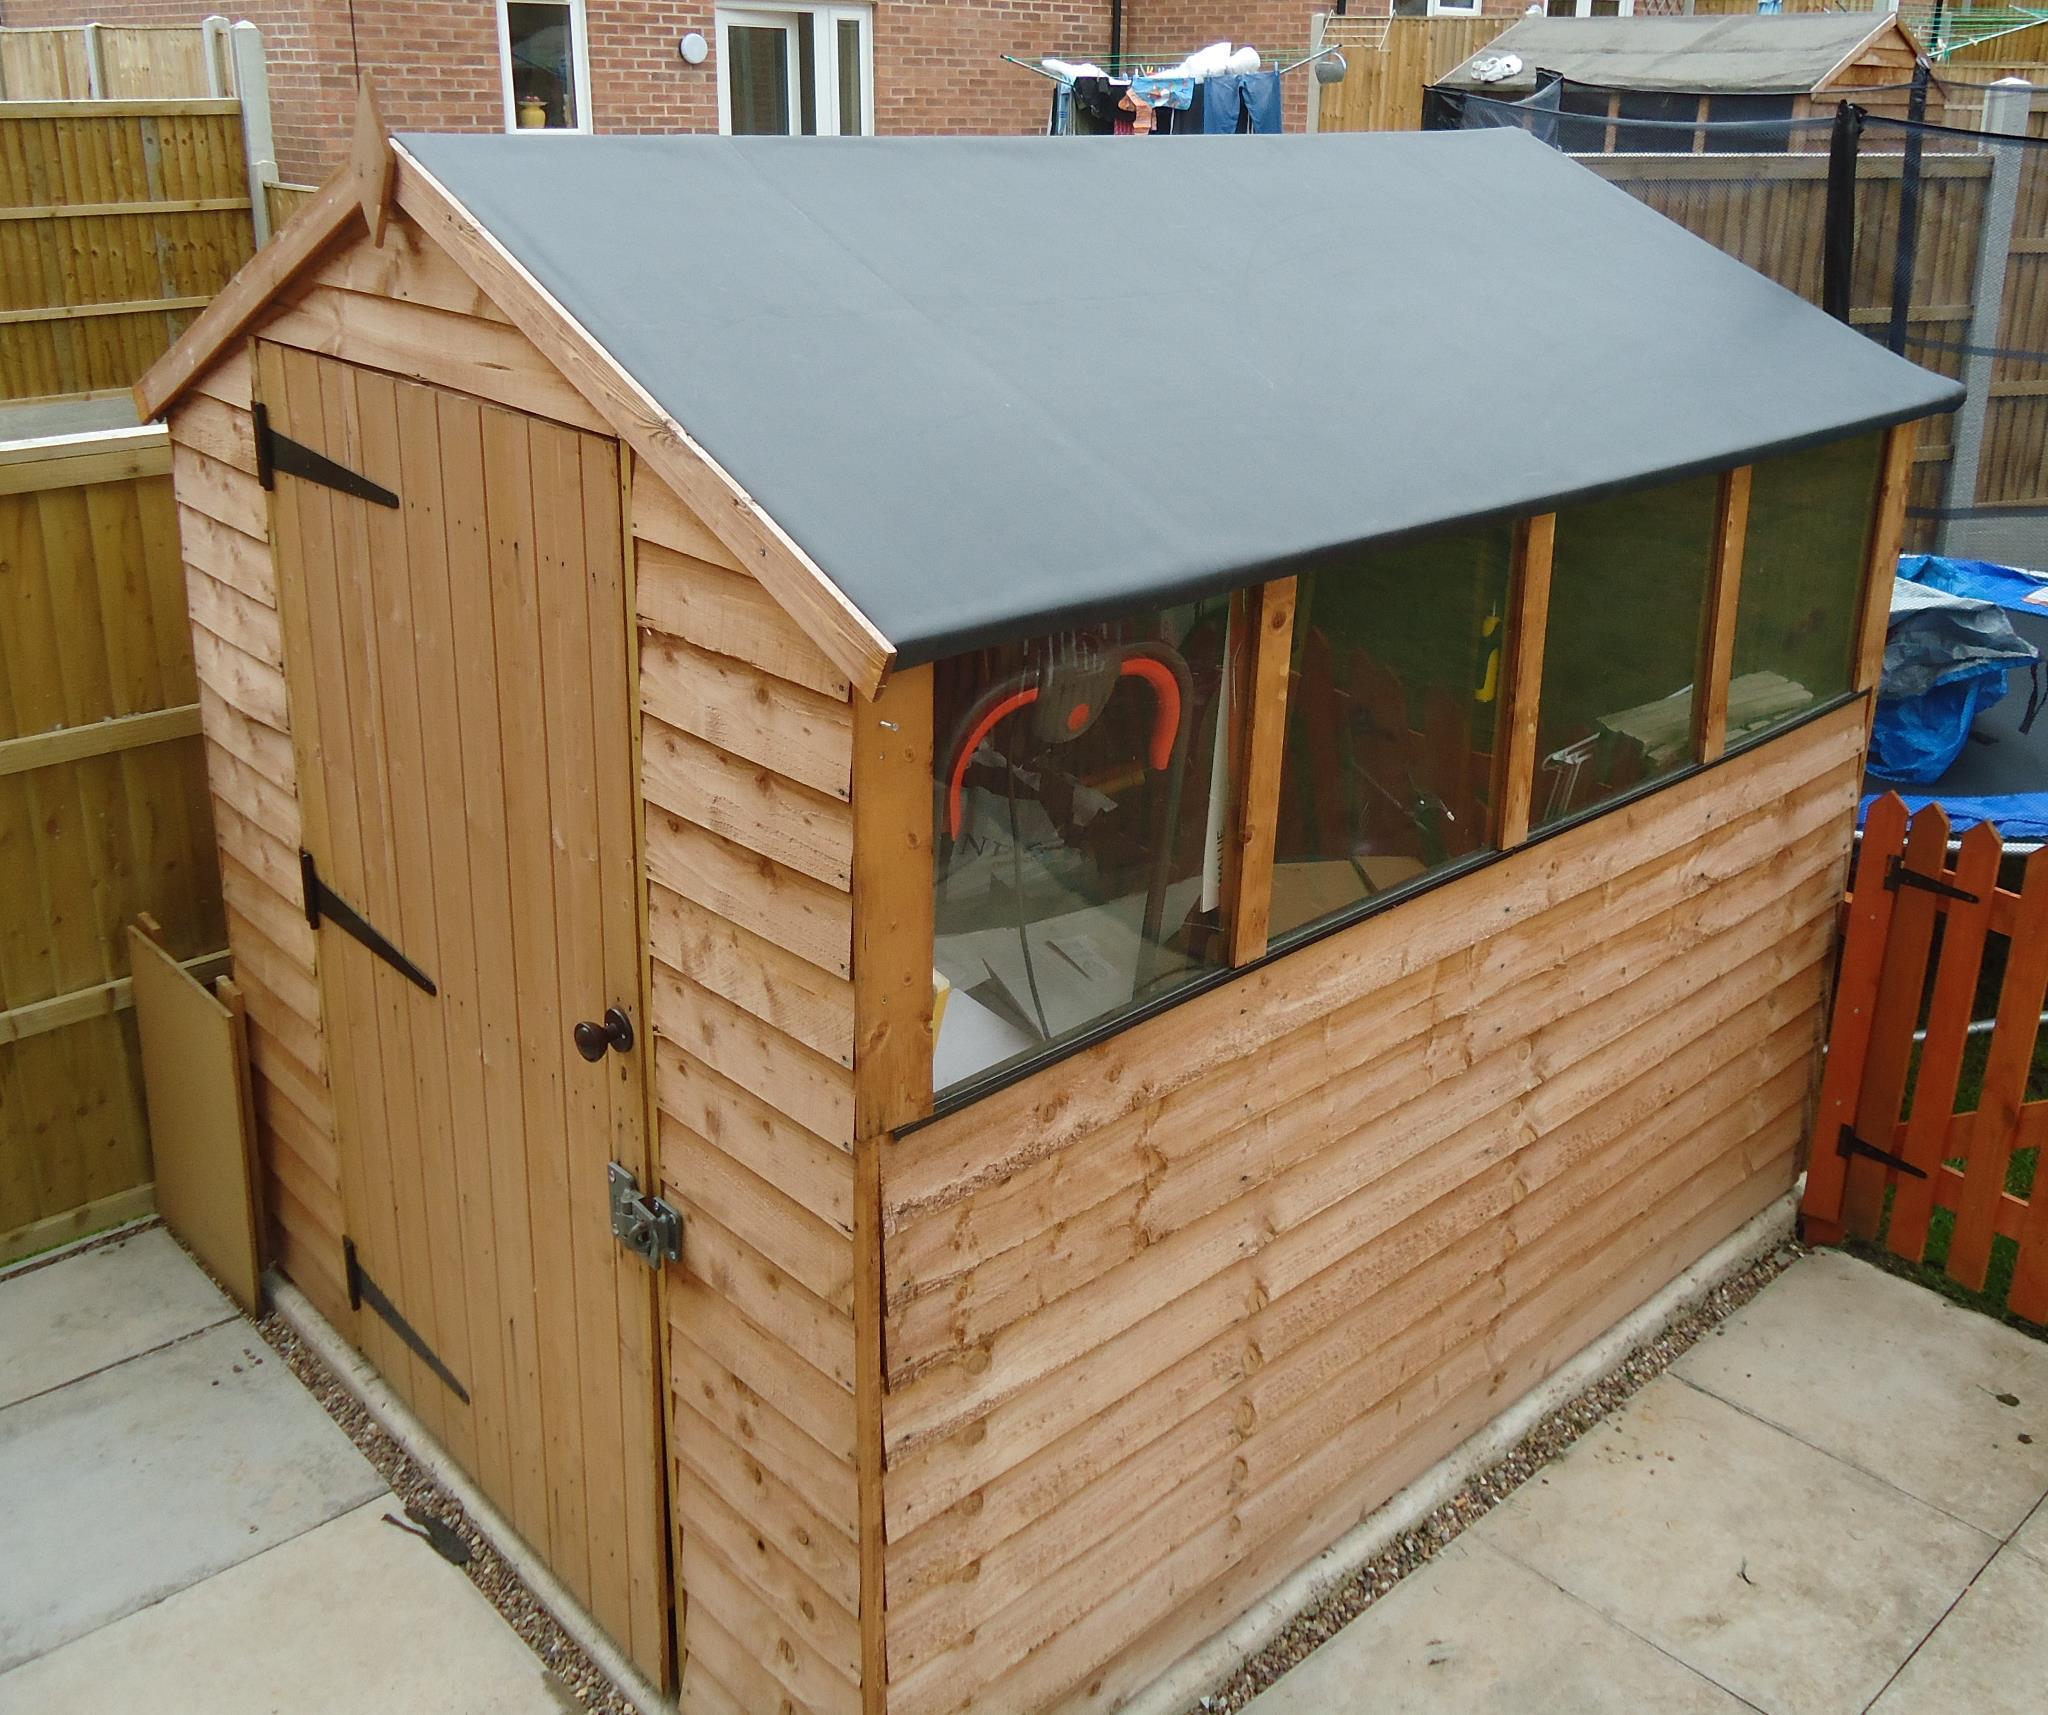
The original fascia barge boards will then be refitted.
You will follow the same process as in step 2 for the last layer.
We will then re felt with either our standard duty or premium duty felt as shown below.
The existing fascia barge boards will be taken off and the old felt removed.
We offer a re felting service for sheds summerhouses and workshops.
A conventional roll of felt is enough for 432 square feet.